
A faucet that has been dripping for three weeks, a shelf that is leaning, a stained wall after water damage: most DIY projects at home arise from an urgency or daily inconvenience, not from a sudden desire to decorate. Starting from this observation changes the way to approach each intervention. We prepare better, buy fewer unnecessary tools, and avoid mistakes that turn a simple repair into an expensive project.
Prepare your workspace before touching a tool
The first mistake is to rush in. You take out the drill, make a hole, and realize that the wall hides an electrical cable or a pipe. Before any intervention, turn off the circuit breaker if you are working near a socket or switch. Clear the area at least one meter around the intervention point.
A metal and cable detector is inexpensive and prevents damage that far exceeds the cost of the tool. Use it on the surface before each drilling, even to hang a frame.
Protecting the floor and furniture takes five minutes and saves hours of cleaning. A plastic tarp held down with masking tape is sufficient for painting or sanding. For work that generates fine dust (cutting drywall, sanding wood), close the door to the room and open the window to create an airflow to the outside.
Resources like bricoleurs.net allow you to check the critical steps of a project before diving in, especially when you’re unsure about the method or the right materials.
DIY tools: building an effective toolbox without breaking the bank
You don’t need twenty tools to cover most household interventions. The classic trap is to buy a complete tool set on sale that contains bits or wrenches you’ll never use.
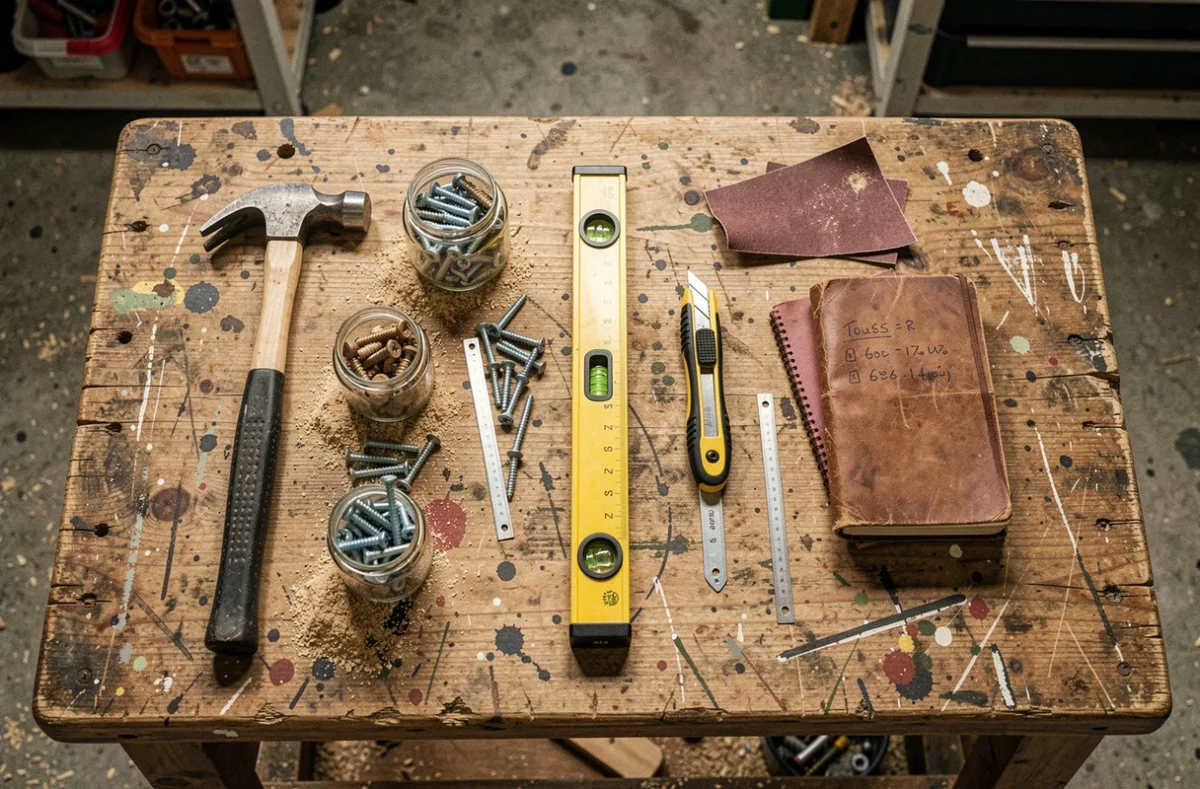
- A five-meter tape measure, a thirty-centimeter spirit level, and a carpenter’s pencil cover all measuring and marking phases.
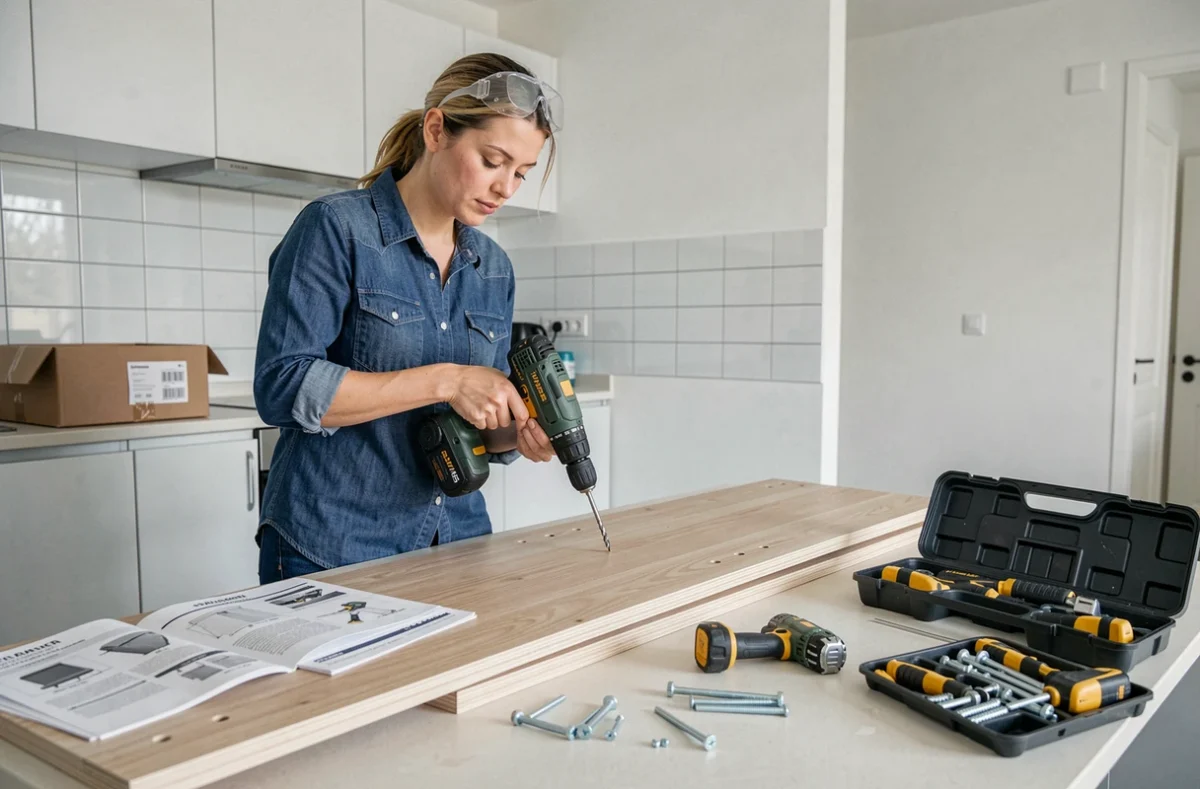
- A cordless drill-driver with a set of bits for concrete, wood, and metal replaces the corded drill for almost all common tasks.
- A retractable blade cutter, a multi-grip pliers, and a set of screwdrivers (flat and Phillips) complete the toolbox for quick repairs.
Invest more in the drill-driver, which is used most often, and save on the rest. A medium-quality tool that is well-maintained lasts longer than a high-end tool left in damp conditions.
Painting and renovating a wall: the actions that change the result
Painting a wall seems simple, but the difference between a clean finish and a mediocre result is made even before opening the can. Preparing the surface represents the majority of the work.
Fill each hole and crack with filler, then lightly sand once dry. If the old coating is peeling, scrape off the parts that are no longer adhering and apply a primer. Skipping this step guarantees blisters or peeling in the months that follow.
Applying paint without streaks
Start with the corners and edges using a trim brush, then load the roller without excess by rolling it on the tray grid. Crossing the passes in a “W” pattern and then smoothing vertically avoids visible touch-up marks in low-angle light.
Opinions vary on the number of coats needed, but in renovation, two coats remain the minimum for a covering result, especially when transitioning from a dark shade to a light one. Allow to dry completely between each coat (the time indicated on the can, not less) makes all the difference.
Sorting and reusing DIY waste: a constraint to anticipate
We rarely think about it when planning a project, but construction waste must be sorted according to specific channels. Debris, electrical equipment, batteries, light bulbs, and hazardous products (solvents, lead-based paints) do not go in the regular trash. The concrete modalities depend on the municipality or inter-municipality, but the local recycling center remains the main drop-off point.
Before throwing away a still functional item (a door, a covering, a furniture handle), reusing construction materials has become a structuring regulatory objective, especially since the decree of June 10, 2022, related to the REP PMCB channel. Specifically, you can carefully dismantle recoverable parts and offer them via donation platforms or recycling centers.
Free take-back when purchasing a new product
The system resulting from the AGEC law allows for the free take-back of many DIY and gardening items when purchasing an equivalent new piece of equipment. This mechanism also applies to furniture and electrical appliances. This way, you avoid accumulation in the garage and disposal in the wrong channel.
- Empty paint cans or those containing residues should be disposed of at the recycling center in the “specific diffuse waste” section.
- Untreated wood scraps can be reused for small projects (shims, auxiliary shelves) or donated.
- Cardboard and plastic packaging from materials follow the standard selective sorting.
Knowing when not to DIY
Not everything can be solved with a drill and good intentions. Work involving the electrical panel, built-in plumbing, or the load-bearing structure of a wall requires a qualified professional. Beyond the safety risk, poorly executed work on these areas can invalidate home insurance.
For outdoor development projects, an extension or garden shed beyond a certain size requires prior declaration or a building permit. Checking urban planning rules with the town hall before pouring a slab avoids having to demolish everything.
DIY at home becomes more efficient when we accept our limits. Mastering basic actions (drilling, painting, filling, assembly), properly sorting waste, and delegating heavy technical interventions creates a realistic framework for successfully completing most domestic projects.